Here’s the recipe for the Easiest, Creamiest No-Bake Peanut Butter Balls! These are the perfect, melt-in-your-mouth treats, made with just three simple ingredients and no oven required!
🍪 3-Ingredient Peanut Butter Balls Recipe 🥜
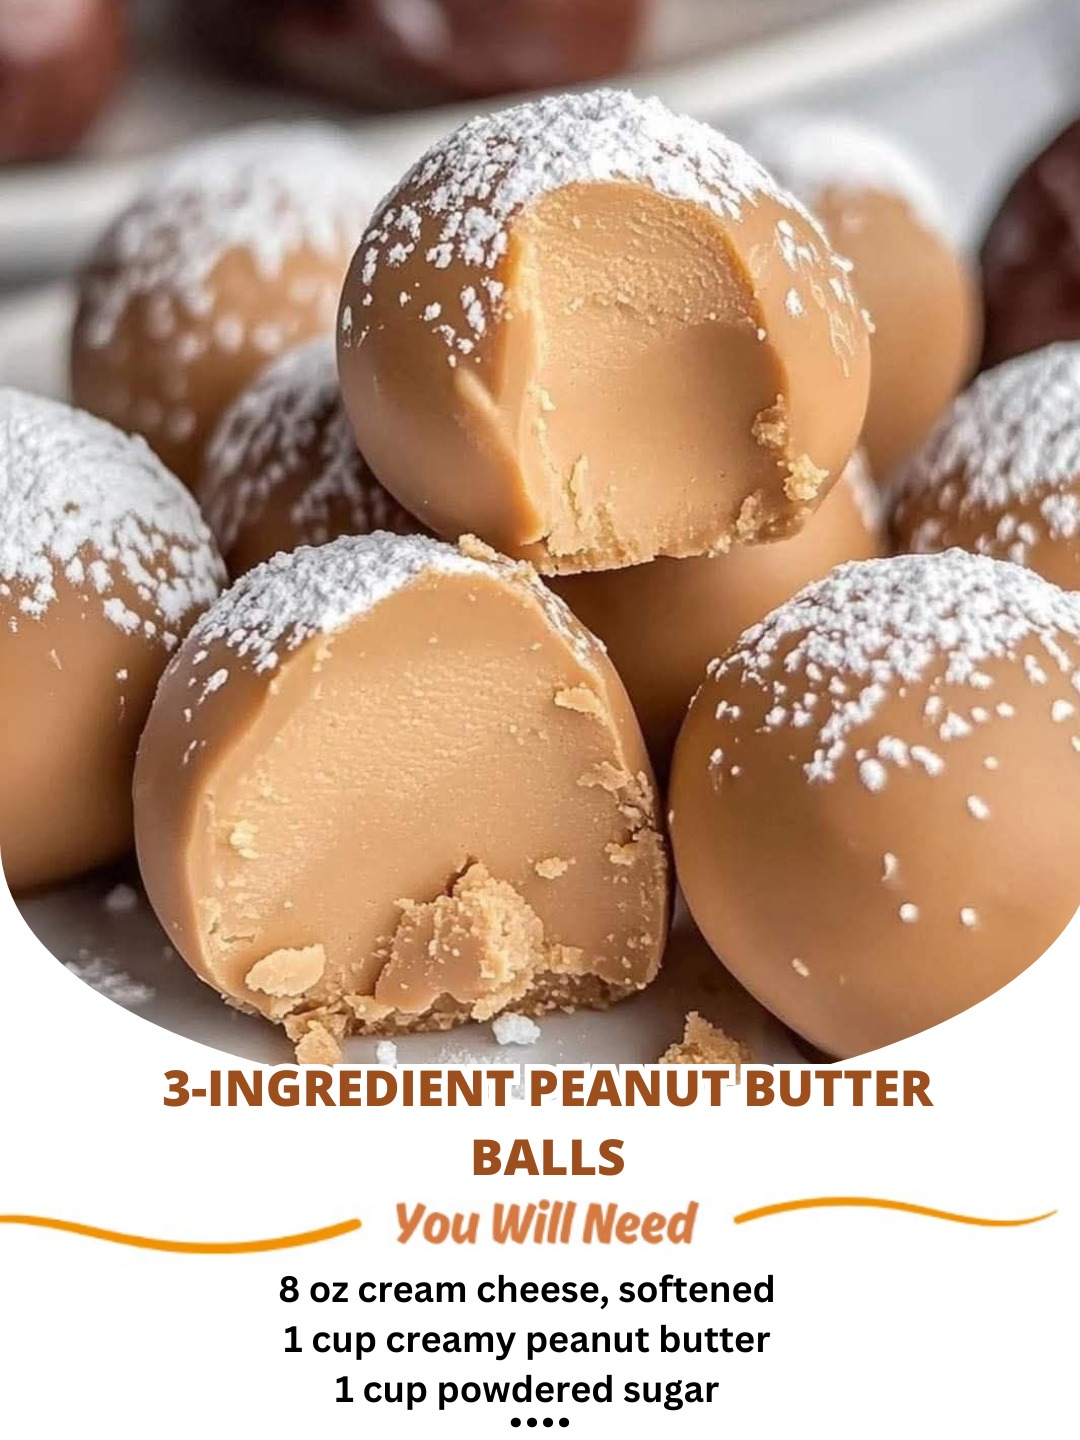
Ingredients You’ll Need:
- 1 cup creamy peanut butter (not natural—it’s too runny)
- 4 oz cream cheese, softened
- 1 ½ cups powdered sugar
Optional Coatings:
- Melted chocolate (for dipping)
- Crushed graham crackers
- Shredded coconut
- Chopped nuts
Step-by-Step Instructions:
1. Mix the Ingredients
In a medium mixing bowl, combine the creamy peanut butter, softened cream cheese, and powdered sugar. Use a spoon or electric mixer to stir everything together until the mixture is smooth and creamy.
2. Shape the Balls
Once the mixture is well combined, roll it into bite-sized balls (about 1-inch in diameter) using your hands. Place them on a baking sheet or tray lined with parchment paper.
3. Chill
Put the tray in the fridge and chill the peanut butter balls for about 30 minutes, or until firm. This helps them hold their shape and makes them easier to coat.
4. Optional Coatings
If you’d like to coat your peanut butter balls, here are some fun options:
- Melted Chocolate: Dip each ball in melted chocolate and let it set.
- Crushed Graham Crackers: Roll each ball in crushed graham crackers for a crunchy, dessert-like twist.
- Shredded Coconut: For a tropical flavor, roll the balls in shredded coconut.
- Chopped Nuts: Roll the balls in chopped peanuts or another nut of your choice for added texture.
5. Serve & Enjoy
Once the peanut butter balls have chilled and are coated to your liking, serve them up! Store any leftovers in an airtight container in the fridge for up to a week (if they last that long!).
Why You’ll Love These Peanut Butter Balls:
- No Baking: Just mix, roll, chill, and enjoy—so simple and quick!
- Creamy Texture: The addition of cream cheese makes them extra smooth and indulgent.
- Versatile Coatings: You can make these even more fun by adding a variety of coatings, from chocolate to nuts!
- Kid-Friendly: These treats are easy to make and are sure to be a hit with both kids and adults.
Pro Tips:
- Make Ahead: These can be made ahead of time and stored in the fridge for a quick, grab-and-go snack or dessert.
- Custom Coatings: Feel free to get creative with your coatings. You could also try dipping in white chocolate or rolling them in mini chocolate chips!