Canning whole strawberries is a fantastic way to preserve their fresh, sweet flavor long after the season has passed. This simple method allows you to enjoy strawberries in desserts, drinks, or as a topping for pancakes and yogurt all year round. The process involves packing ripe strawberries in a light homemade syrup, which enhances their natural sweetness while keeping them fresh and delicious.
Whether you’re an experienced home canner or a beginner looking for an easy project, this guide will walk you through the steps to safely can whole strawberries with minimal effort.
Why You’ll Love This Method
- Extends Shelf Life: Preserves strawberries for up to a year.
- Simple Ingredients: Uses only fresh strawberries, sugar, lemon juice, and water.
- Versatile Usage: Perfect for toppings, fillings, or mixing into recipes.
- Customizable Flavor: Add vanilla, cinnamon, or mint for extra depth.
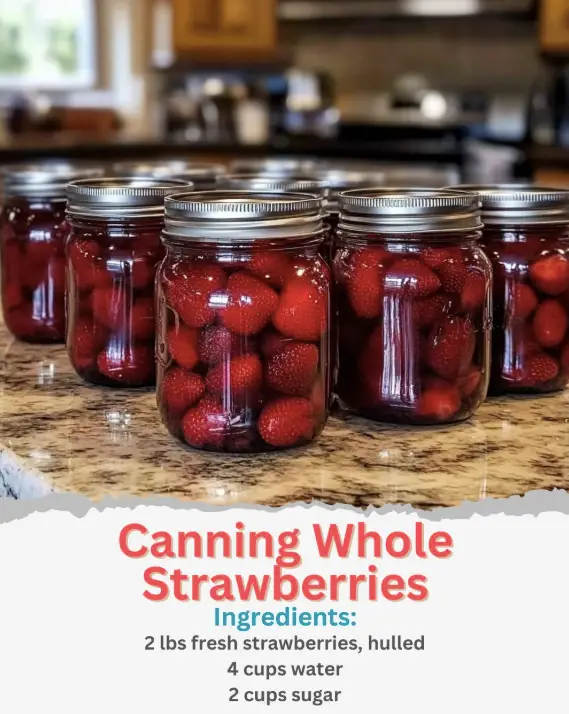
Ingredients
- 2 lbs fresh strawberries, hulled
- 4 cups water
- 2 cups sugar
- 2 tablespoons lemon juice
- 1 teaspoon vanilla extract (optional)
Step-by-Step Instructions
Step 1: Prepare the Strawberries
- Wash the strawberries thoroughly under cold running water.
- Remove the stems and hull the strawberries.
Step 2: Make the Syrup
- In a medium saucepan, combine the water, sugar, and lemon juice.
- Bring the mixture to a gentle boil, stirring occasionally, until the sugar is fully dissolved.
- If using vanilla extract, add it to the syrup once the sugar has dissolved.
Step 3: Pack the Jars
- Sterilize glass canning jars by boiling them in water for 10 minutes.
- Pack the prepared strawberries into the hot jars, leaving about ½ inch of headspace.
- Pour the hot syrup over the strawberries, ensuring they are fully submerged.
- Remove air bubbles by gently tapping the jars or running a clean knife along the sides.
Step 4: Seal and Process
- Wipe the jar rims clean to ensure a proper seal.
- Place sterilized lids on the jars and screw on the bands until they are fingertip-tight.
- Process the jars in a boiling water bath for 15 minutes.
- Carefully remove the jars and let them cool at room temperature for 24 hours.
Step 5: Store and Enjoy
- Check that the lids have sealed properly by pressing down on the center. If the lid does not pop back, the seal is secure.
- Store jars in a cool, dark place for up to a year. Refrigerate after opening.
Serving Ideas
- Drizzle Over Ice Cream: Spoon the preserved strawberries and syrup over vanilla ice cream for a simple dessert.
- Use in Baking: Add them to cakes, pies, or muffins.
- Mix into Drinks: Blend with lemonade, cocktails, or sparkling water for a refreshing beverage.
- Topping for Breakfast: Enjoy over pancakes, waffles, or yogurt.
Tips for the Best Canned Strawberries
- Use Firm, Ripe Strawberries: Soft or overripe strawberries may become mushy during the process.
- Enhance Flavor: Add a cinnamon stick or a few mint leaves to the jars before sealing for a unique taste.
- Check Seals: If a jar doesn’t seal properly, refrigerate and use it within a few weeks.
- Label Your Jars: Mark the date on each jar for easy tracking.
Storage & Shelf Life
- Unopened Jars: Store in a cool, dark place for up to 1 year.
- Opened Jars: Refrigerate and consume within 2 weeks.
Final Thoughts
Canning whole strawberries is a wonderful way to capture the essence of fresh summer fruit. This method is easy, requires minimal ingredients, and results in delicious strawberries that can be used in countless ways. Whether you enjoy them straight from the jar or incorporate them into your favorite recipes, these preserved strawberries will add a burst of natural sweetness all year long. Happy canning!