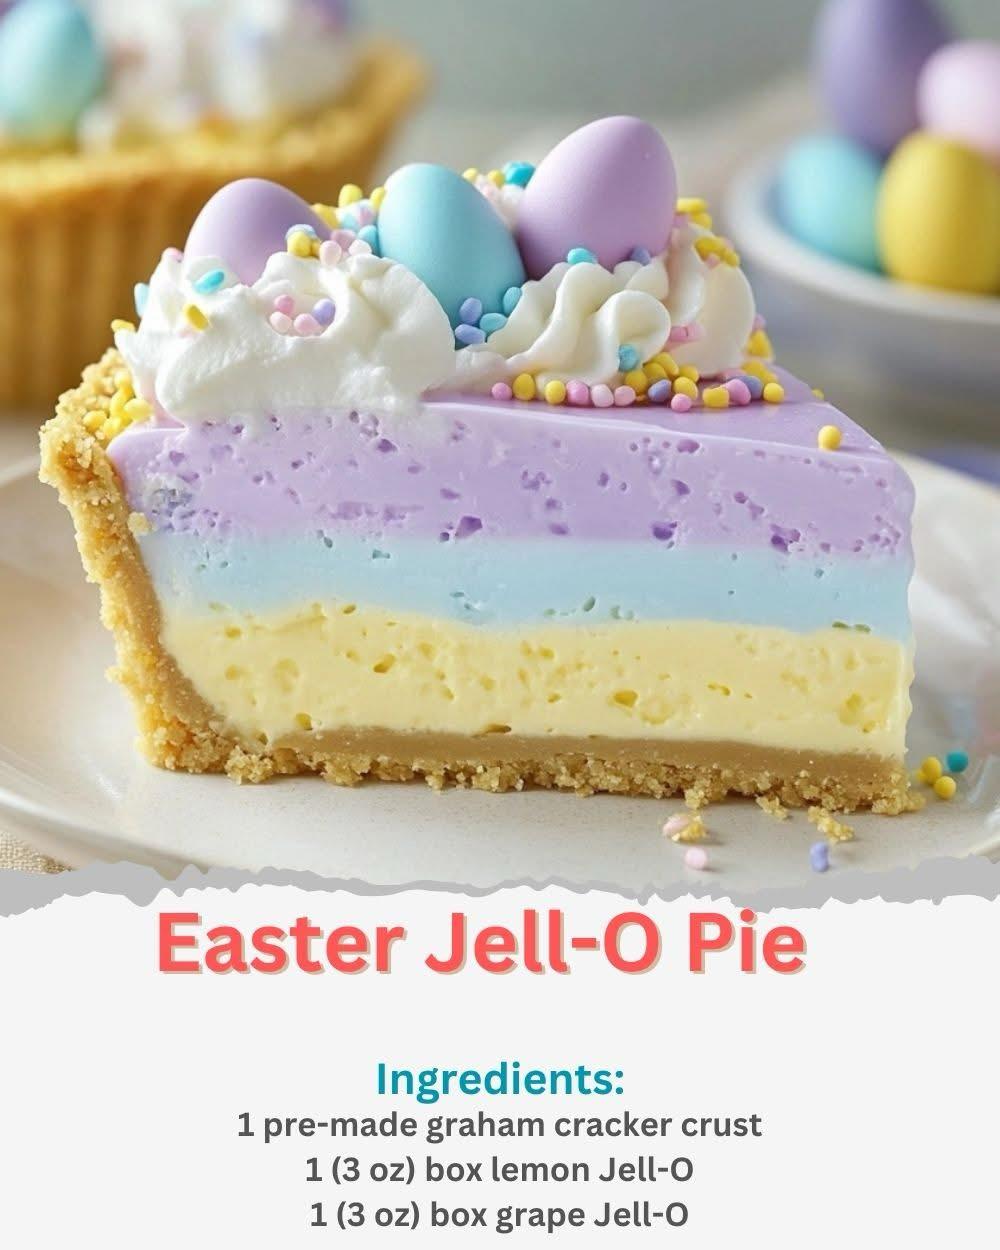
Easter is a time for celebration, family gatherings, and, of course, delicious desserts! This Easter Jell-O Pie is a vibrant, no-bake treat that’s as fun to make as it is to eat. The pastel-colored layers make it a perfect addition to your holiday table, while the light, creamy texture makes it a refreshing dessert for springtime. Whether you’re serving this to kids or adults, this pie is sure to bring a smile to everyone’s face!
Why You’ll Love This Recipe
✔ Festive & Eye-Catching – Beautiful pastel layers make it a showstopper.
✔ Easy to Make – Simple ingredients and steps, perfect for beginners.
✔ No-Bake Dessert – No need to turn on the oven!
✔ Light & Refreshing – A creamy, jiggly treat that’s not too heavy.
✔ Make-Ahead Friendly – Chill it overnight for easy entertaining.
Ingredients
For the Pie:
- 1 pre-made graham cracker crust
- 1 (3 oz) box lemon Jell-O
- 1 (3 oz) box grape Jell-O
- 1 (3 oz) box berry blue Jell-O
- 3 cups boiling water (1 cup per Jell-O flavor)
- 3 cups cold water (1 cup per Jell-O flavor)
- 8 oz cream cheese, softened
- 1 ½ cups whipped topping (such as Cool Whip)
For Decoration:
- Whipped cream
- Pastel sprinkles
- Candy eggs
Step-by-Step Instructions
Step 1: Prepare the Lemon Layer
- In a medium bowl, dissolve lemon Jell-O in 1 cup of boiling water, stirring until completely dissolved.
- Add 1 cup of cold water, stirring gently.
- Mix in ⅓ of the cream cheese and ½ cup of whipped topping, whisking until smooth.
- Pour the mixture into the graham cracker crust and refrigerate for 30 minutes or until set.
Step 2: Prepare the Blue Layer
- In another bowl, dissolve berry blue Jell-O in 1 cup of boiling water.
- Add 1 cup of cold water, then mix in ⅓ of the cream cheese and ½ cup of whipped topping.
- Carefully pour over the set lemon layer, using the back of a spoon to prevent mixing.
- Refrigerate for 30 minutes or until set.
Step 3: Prepare the Grape Layer
- Repeat the process with grape Jell-O: dissolve in 1 cup of boiling water, add 1 cup of cold water, then mix in the remaining cream cheese and whipped topping.
- Gently pour over the set blue layer.
- Chill for at least 4 hours, or overnight, until fully set.
Step 4: Decorate and Serve
- Just before serving, decorate with whipped cream, pastel sprinkles, and candy eggs.
- Slice carefully and enjoy this creamy, colorful treat!
Serving and Storage Tips
- Chill for at least 4 hours for best results.
- Store in the refrigerator for up to 3 days, covered with plastic wrap.
- Do not freeze, as Jell-O may lose its texture when thawed.
- Use a sharp knife dipped in warm water for clean slices.
Helpful Notes
- Prevent Layers from Mixing: Pour each layer slowly over the back of a spoon.
- Lighter Texture: Fold in extra whipped topping for an airier consistency.
- Different Flavors? Try strawberry, orange, or lime Jell-O for a custom look.
- Alternate Crusts: Use Oreo, vanilla wafer, or shortbread crust for variety.
- Firmer Layers? Reduce the cold water to ¾ cup per layer for extra stability.
Frequently Asked Questions
1. Can I use different Jell-O flavors?
Absolutely! Choose any flavors to match your desired color scheme—just keep the layering order the same.
2. How do I prevent the layers from mixing?
Ensure each layer is fully set before adding the next. Pour gently over a spoon to distribute the weight evenly.
3. What’s the best crust to use?
A graham cracker crust is classic, but you can also use Oreo, vanilla wafer, or shortbread crust for a twist.
4. Can I make this pie ahead of time?
Yes! It’s best when made a day in advance, allowing the layers to fully set.
Final Thoughts
This Easter Jell-O Pie is a fun, festive, and foolproof dessert that’s perfect for spring celebrations! Whether you’re making it for kids, family, or just for yourself, its vibrant colors and creamy layers make it a true crowd-pleaser. The best part? No baking required—just mix, layer, and chill.
So grab your Jell-O boxes and let’s make this Easter extra sweet!